Creating a Home Lab by Repurposing Old Laptops
Alex Nelsen
1/26/2024
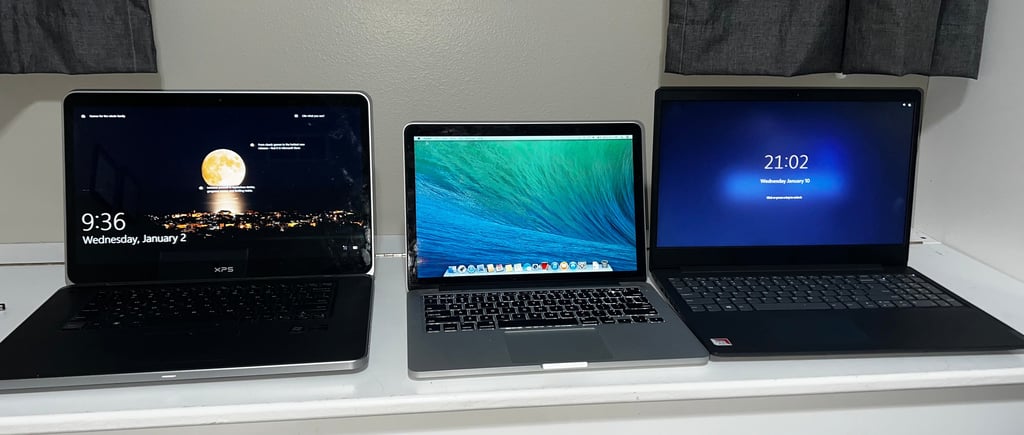
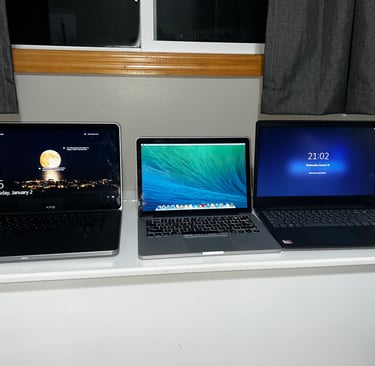
In an era where technology rapidly evolves, repurposing old laptops can be both a rewarding and eco-friendly endeavor. I recently took on the project of upgrading three older laptops, each with a unique set of enhancements to serve specific roles in my home lab. This blog post delves into the technicalities of these upgrades, showcasing how older hardware can be revitalized.
Dell XPS L521x (2013): The Home Lab Defender
Original Specs:
Processor: Quad-Core Intel i7 2.10GHz
Chipset: HM77 Express
Graphics: NVIDIA GeForce GT 2GB GDDR5
RAM: 8GB DDR3
Storage: 750GB SATA HDD
OS: Windows 7
The Upgrade Process:
RAM Enhancement: Upgraded to a 16GB DDR3L-1600MHz dual-channel RAM from NVTEK, significantly boosting the machine's multitasking capabilities.
Storage Revamp: Replaced the HDD with a more efficient and faster Crucial BX500 2.5” 480GB SATA SSD.
OS Update: Transitioned from Windows 7 to Windows 10 for improved security and modern features.
Virtualization Setup: Installed VMWare and created Ubuntu Desktop and Ubuntu Server virtual machines, positioning this laptop as the "Defense" team in my home lab setup.
This transformation not only revitalized the Dell XPS L521x but also turned it into a cornerstone for gathering hands on cybersecurity defense scenarios.
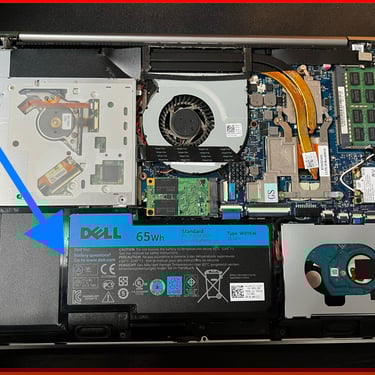
Remove Battery
Remove Circuit Board
Remove HDD, replace with Crucial BX500 SSD
Remove mSATA SSD
Remove Optical Drive
Remove WLAN Card
Remove Fan
Remove 1st Accessible Ram slot, replace with upgraded RAM
Remove Heat sink
Remove motherboard
Flip Motherboard over and remove second accessible RAM slot, replace with new RAM.
Lenovo IdeaPad1 S145-15AST (2019): The Attacker
Initial Configuration:
Processor: AMD-A6 2.6GHz
Graphics: Integrated AMD Radeon R4
RAM: 8GB DDR4-2133 SODIMM
Storage: 500GB 2.5” SATA HDD
OS: Windows 10
The Upgrading Strategy:
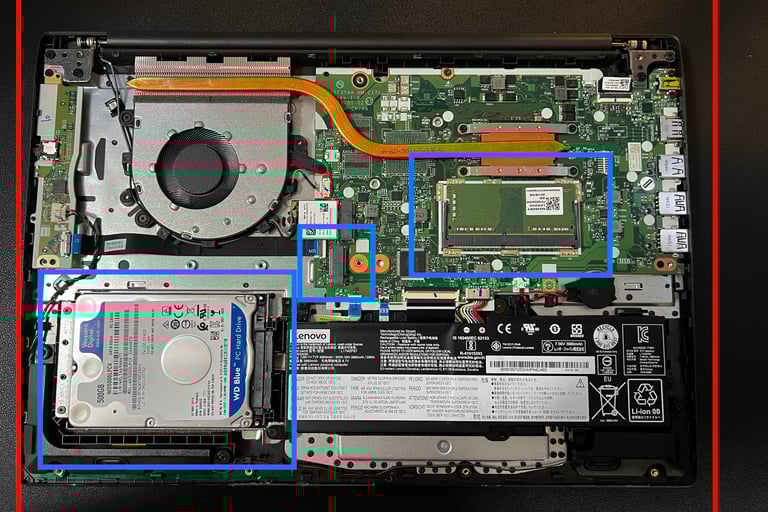
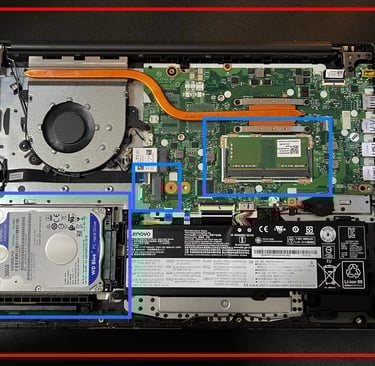
Storage Swap: Upgraded to a Crucial BX500 2.5” 480GB SATA SSD, enhancing data access speeds.
RAM Upgrade: Boosted memory to 16GB DDR4 3200MHz RAM, also from Crucial, for better performance.
Partitioning and Linux Setup: Partitioned the SSD to allocate 60GB for system files and used Rufus to create a bootable USB with Kali Linux, turning this laptop into an "attacking" machine for the home lab.
The Lenovo now serves as a dedicated platform for testing and simulating offensive cybersecurity tactics.
HDD, RAM, and PCIe Slot for additional SSD.
Late 2013 Retina MacBook Pro 13”: The NAS/IoT Hub
Stock Specs:
Processor: Intel i5
RAM: 8GB DDR3 (soldered)
Storage: 128GB Flash SSD
OS: MacOS X 10.9.5
The Modification:
SSD Upgrade: Swapped with a Timetec NVMe 512GB PCIe SSD for increased storage capacity and speed.
RAM Constraints: The RAM remained unchanged due to soldering.
Utilization of Original SSD: The original MacBook's PCIe SSD was repurposed as additional storage for the Lenovo IdeaPad1, expanding its storage capacity to 608GB.
OS Update and Backup: Upgraded to MacOS Big Sur and created a Time Machine backup for post-upgrade restoration.
New Functionality: The MacBook Pro is now configured for use as a privately hosted Network Attached Storage (NAS) or as an IoT automation hub.
This MacBook Pro's upgrade significantly enhanced its utility, making it a versatile tool for storage and automation.