Creating an Active Directory Domain Controller & Connecting a Client Device
Alex Nelsen
2/6/20245 min read

The Overview:
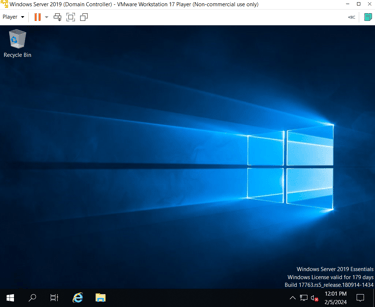
In this demonstration, I will be both creating and configuring an Active Directory Domain Controller using a Windows 2019 Virtual Machine via VMWare, creating a private simulated "enterprise" domain, running a pre-written PowerShell script to automatically create 1,000 mock users, and finally connecting a "client machine" to the new & established domain using a Windows 10 VM, also via VMWare.
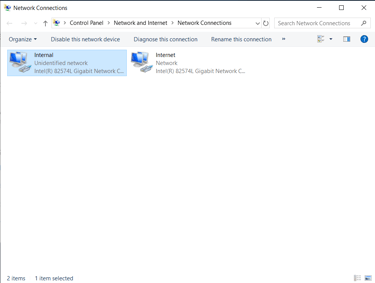
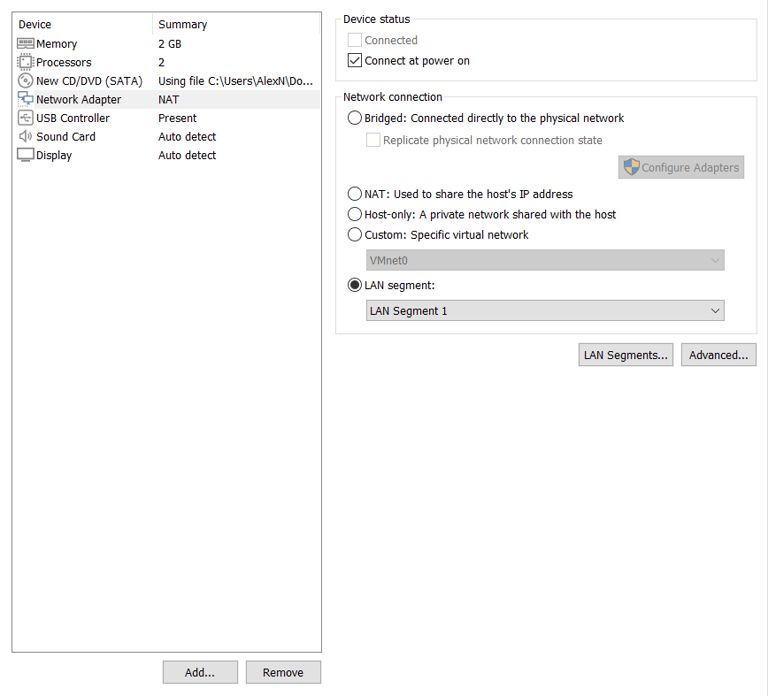
The Domain Controller will be configured with 2 vNICs (Virtual Network Interface Cards), one will be set to NAT (Network Address Translation) to share my host device's IP to connect to the internet, and the 2nd to be used in a private LAN segment with access being granted only to other VMs (The client device).
This small project will demonstrate skills and knowledge regarding different Windows Environments, VMWare, Active Directory Management and Domain Creation.
I hope you enjoy the following read!
Creating Windows Server 2019 and Windows 10 Client Virtual Machines to act as my Active Directory Domain Controller (DC) & Client Device
In the following steps, I was able to download a Windows 2019 Server .ISO file directly from Microsoft, while also using Windows Media Creation tool to create the additional Windows 10 .ISO file. These 2 files were then imported into VMWare Workstation (My preferred Hypervisor solution), thus creating the 2 virtual machines to act as both server and client.
Upon creation, most of the default options were selected with the small differences being that in the Windows 2019 Server device, I opted to add an additional vNIC set to a private LAN segment to allow the server to act as the DHCP (Dynamic Host Control Protocol) Server for the client device as well.




Creating & Configuring the Active Directory, DHCP, NAT/RAS Roles within Windows
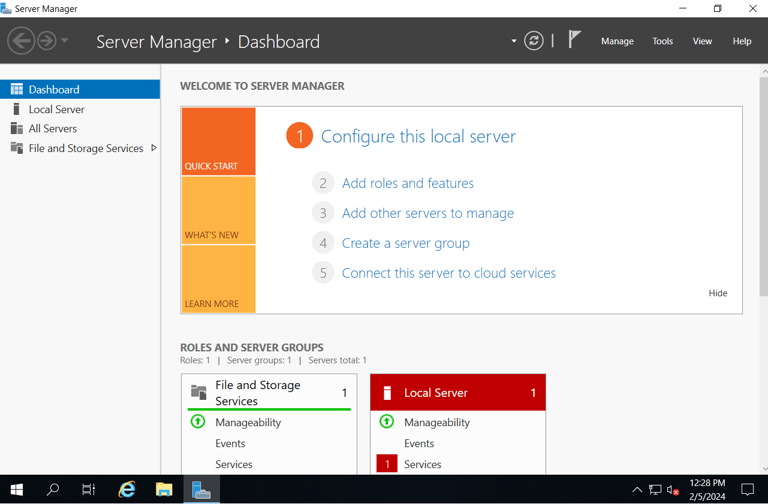

Installing Active Directory Domain Services via Server Manager.
"Add roles & features."
Choose server to install ADDS. (itself)
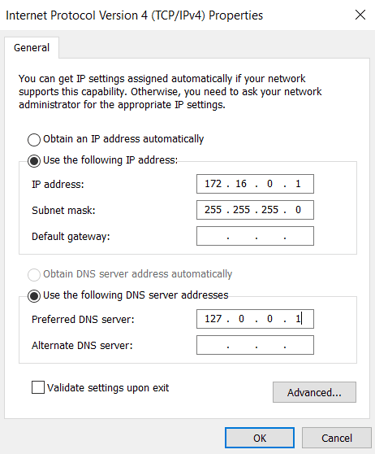
The private LAN segment's NIC, named "Internal" was set with the following settings:
Static IP Address of 172.16.0.1
Subnet Mask of 255.255.255.0
Default Gateway: The other NIC will use the default gateway.
DNS Server 127.0.0.1 (Loop back address, uses itself as a DNS Server)
The Client device's NIC was then set in the same private LAN segment shown above.
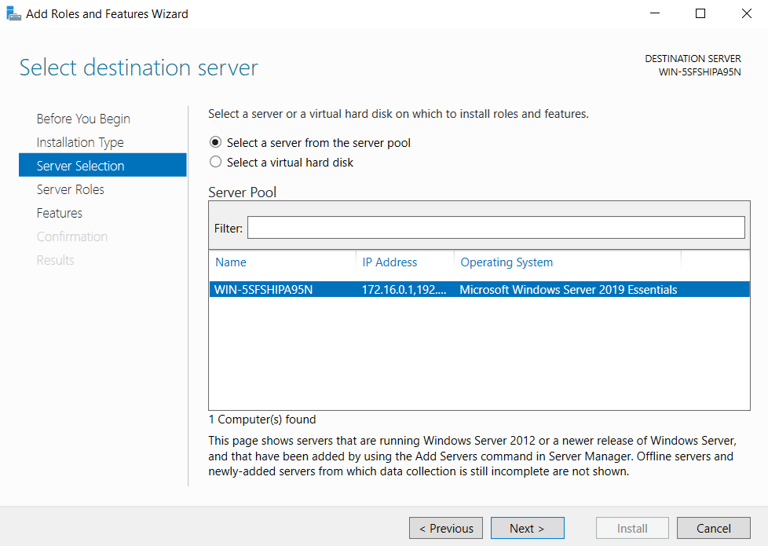

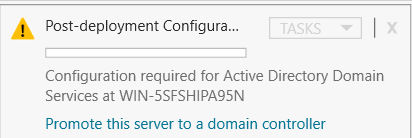

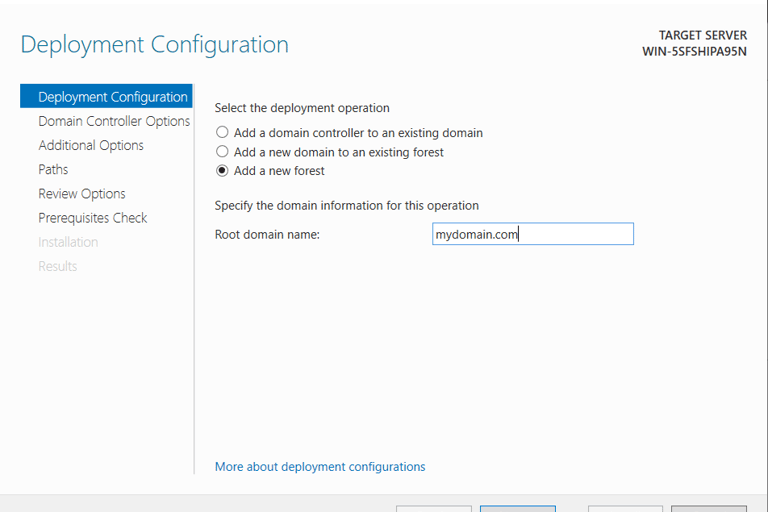

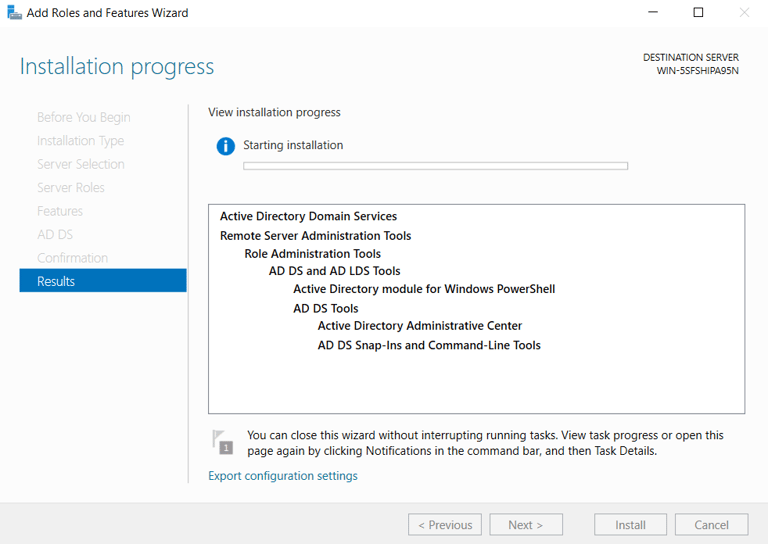

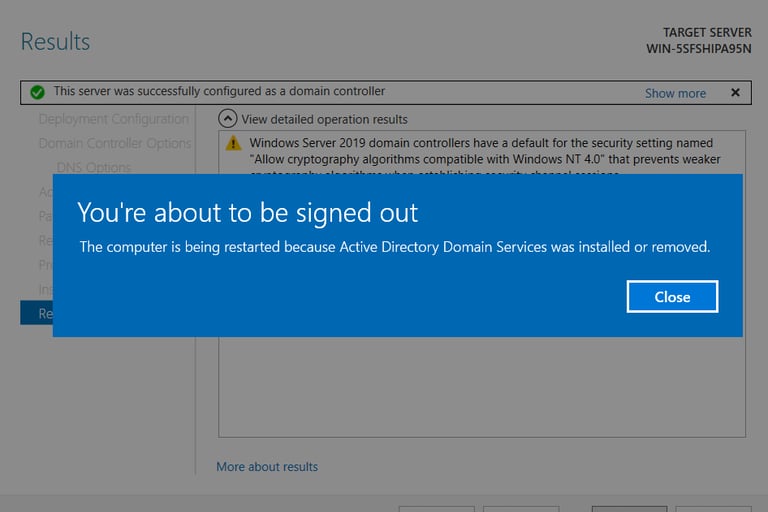

Installation Process:
After Installation, configuration is required:
Our Domains name was set to "mydomain.com"
Restart required to implement changes
Creating an Additional Admin Account (Using my name)
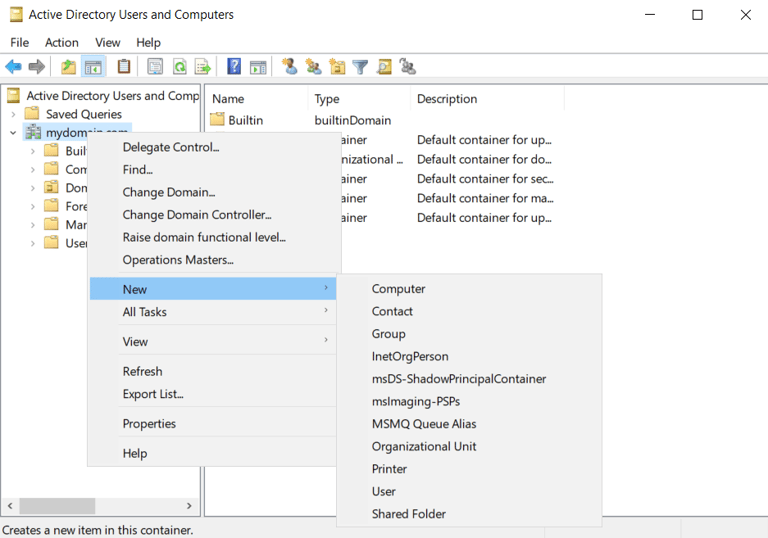

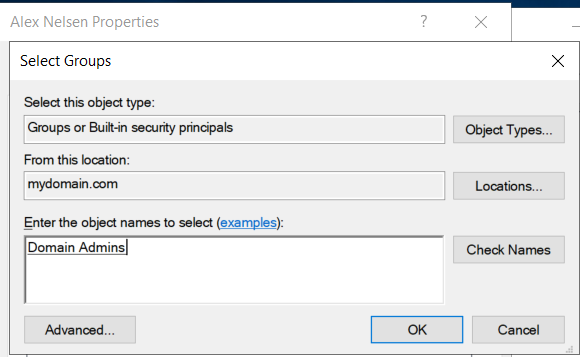

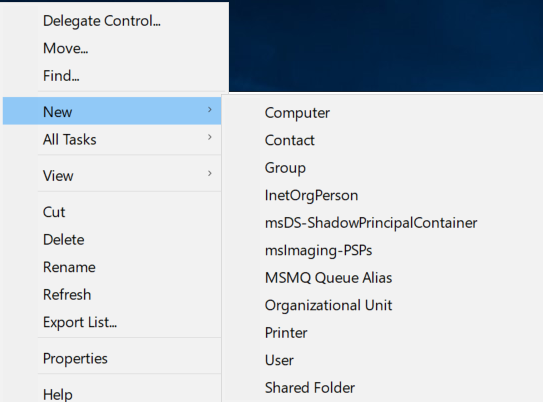

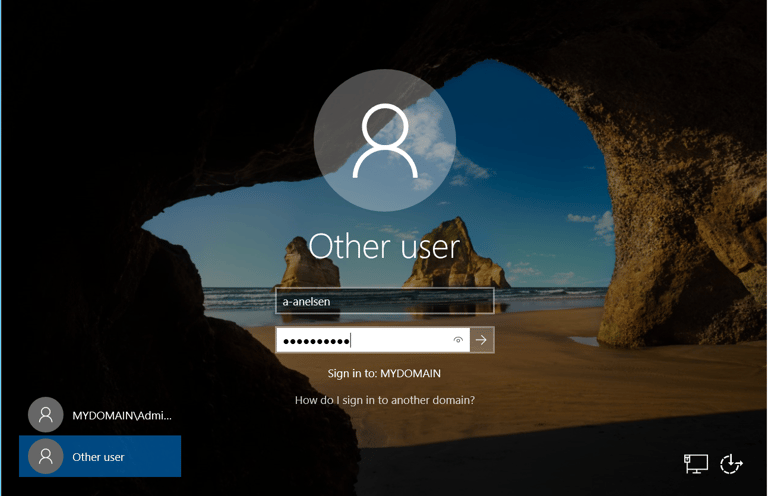

Using new administrative tools under Active Directory Users and Computers:
Creating an Organizational Unit (OU) named 'ADMINS'
Creating new user within newly created ADMINS group, 'a-anelsen'
Change properties under new user account
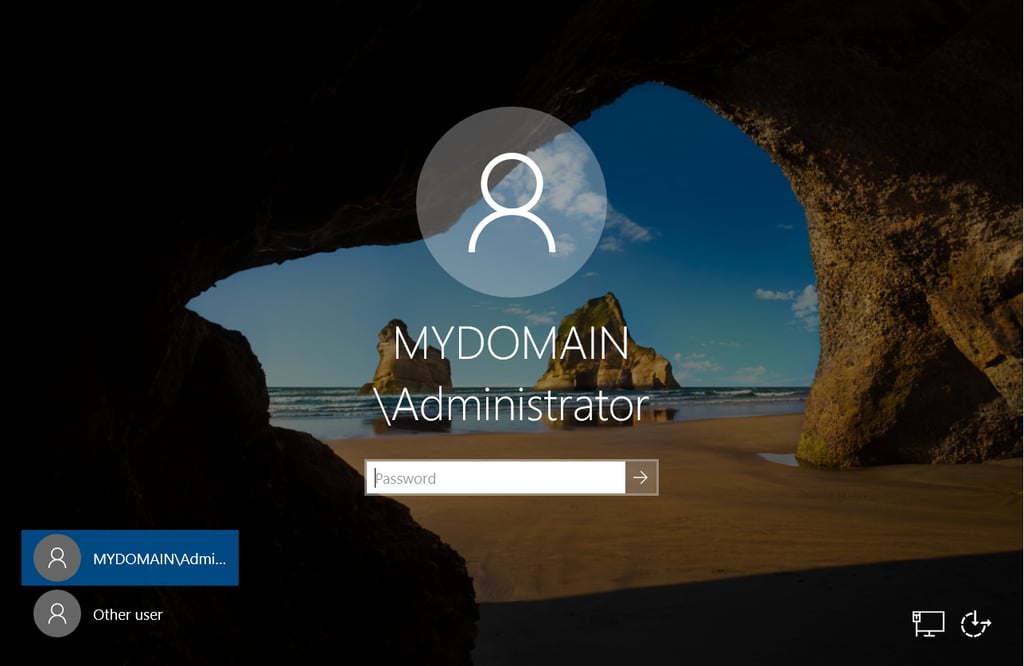
New domain admin account sign in to MYDOMAIN
Installing RAS (Remote Access Services) & NAT (Network Address Translation) within the Domain Controller
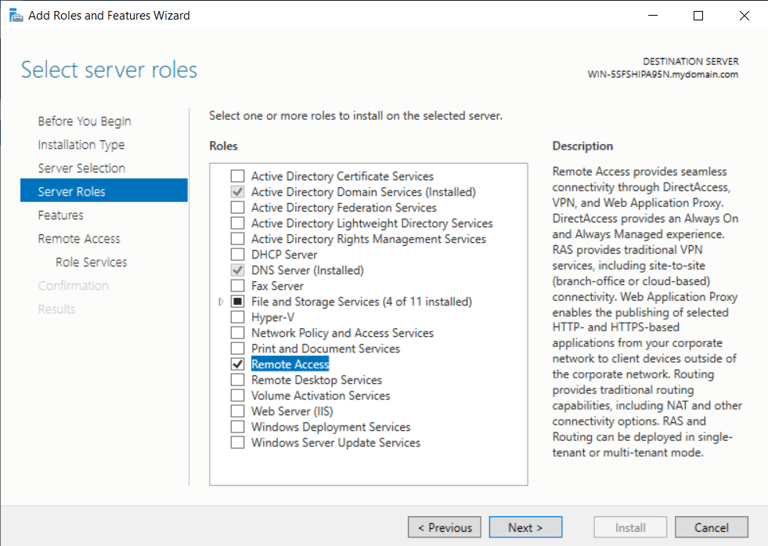

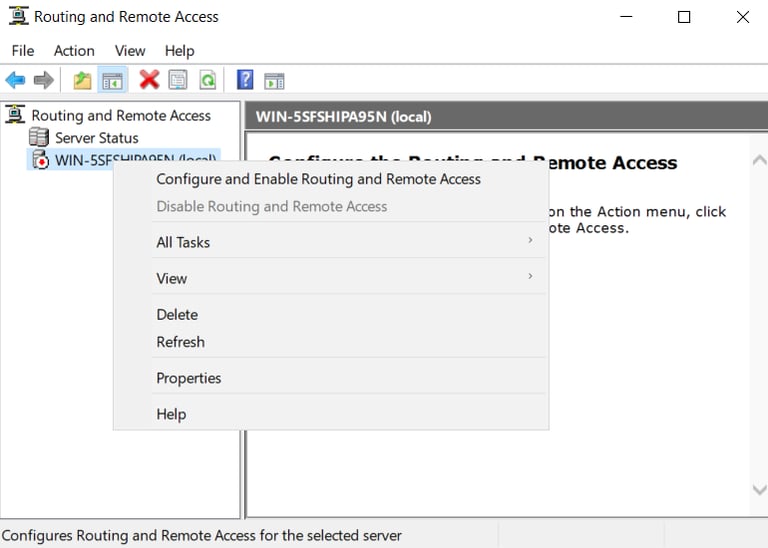

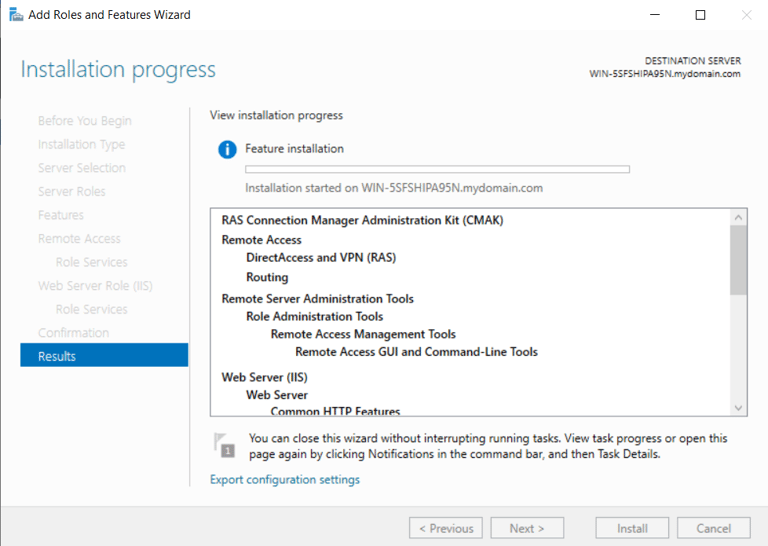

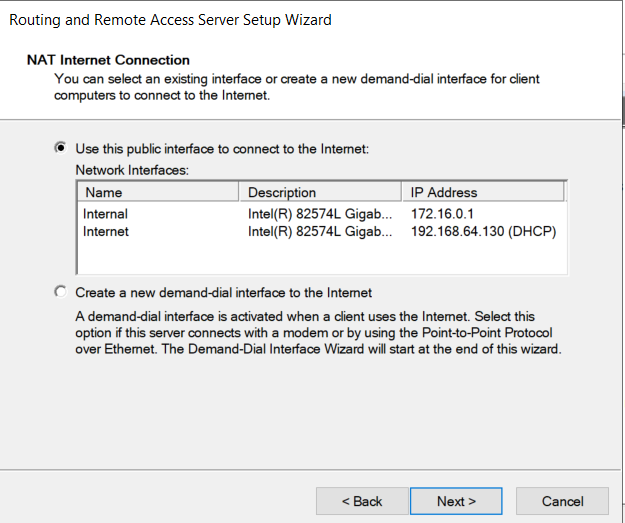

Configured under "add roles & features" again
Select 'Remote Access'
Install RAS Features
Configure & Enable Routing & Remote Access, choose "Internet Adapter" using NAT
Setting up DHCP on Domain Controller
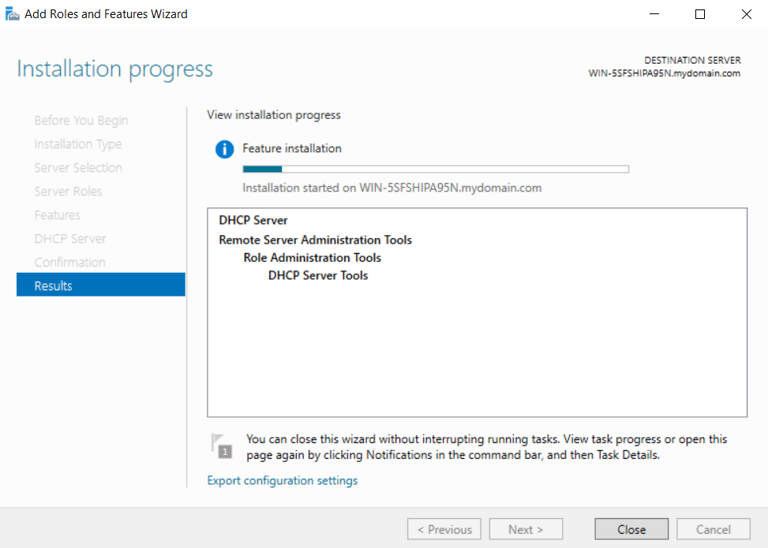
Added role of DHCP Server under "Add roles and Features"
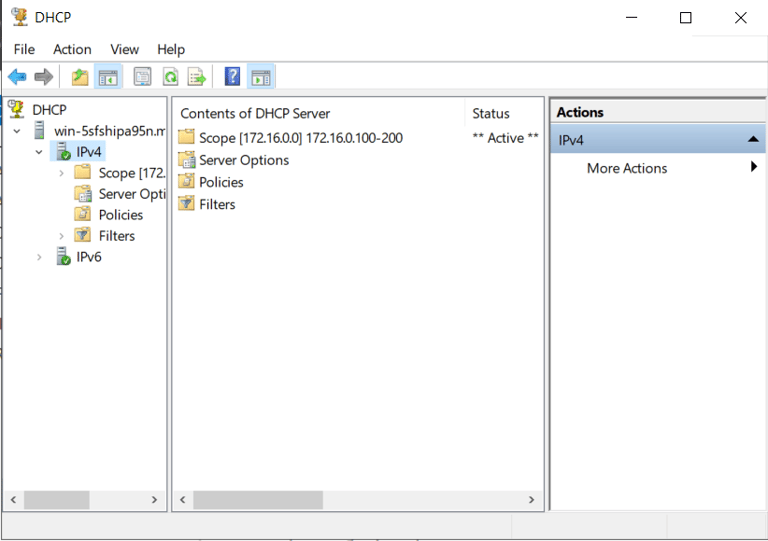
Set DHCP Scope:
172.16.0.100 - 172.16.0.200
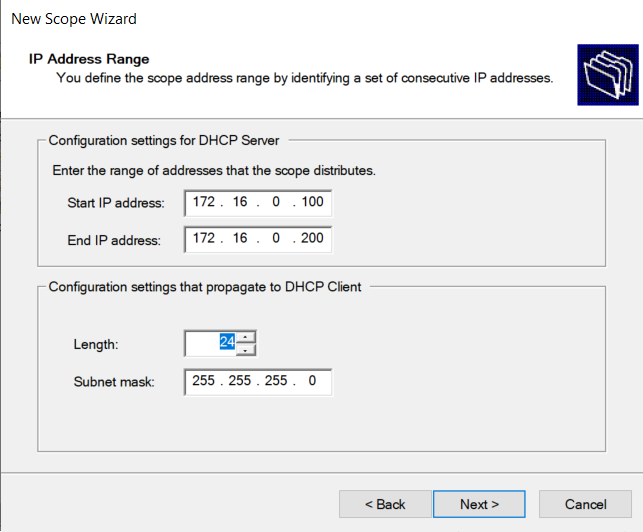




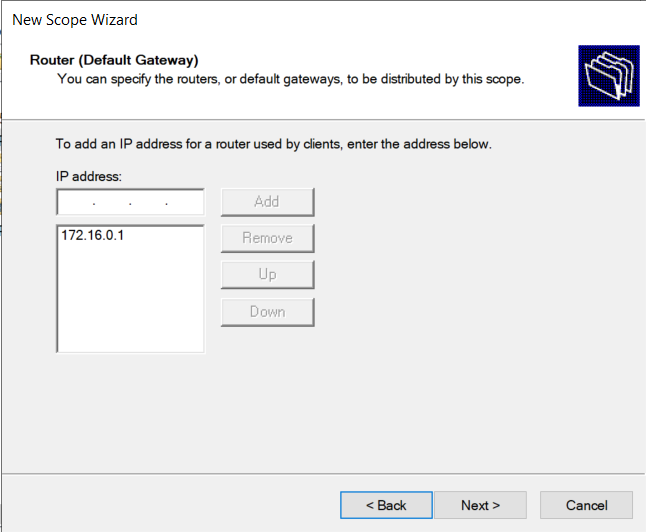

Setting default gateway
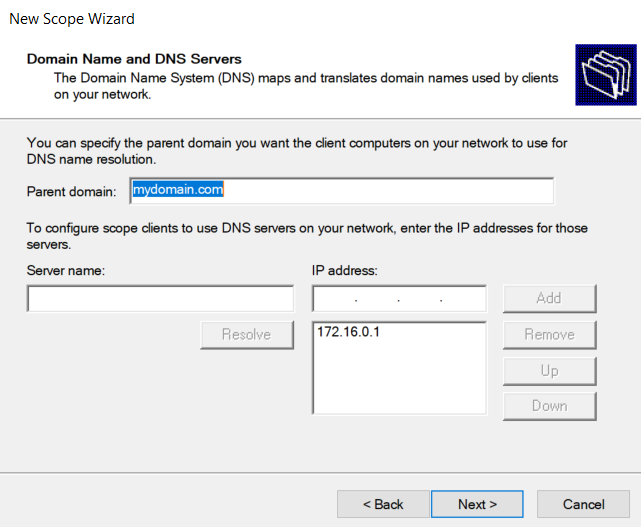
Using Domain Controller as DNS Server
Completed:
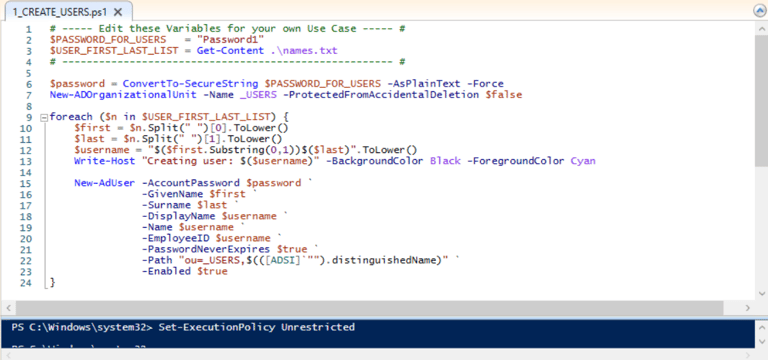
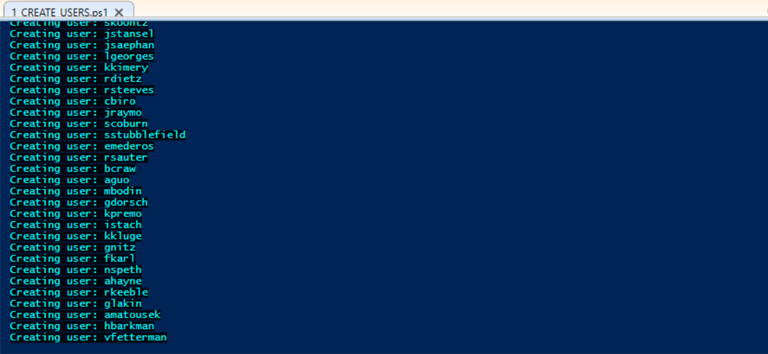
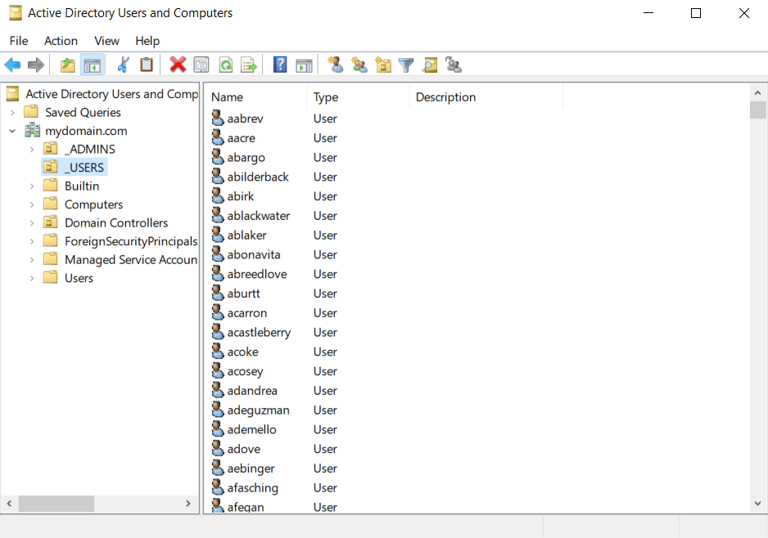
Using PowerShell script to create 1,000+ Users
Using a pre-written PowerShell Script and Name List .txt file:




Configuring Windows 10 Client PC Virtual Machine




Reminder: Client PC's NIC was set to private LAN segment.
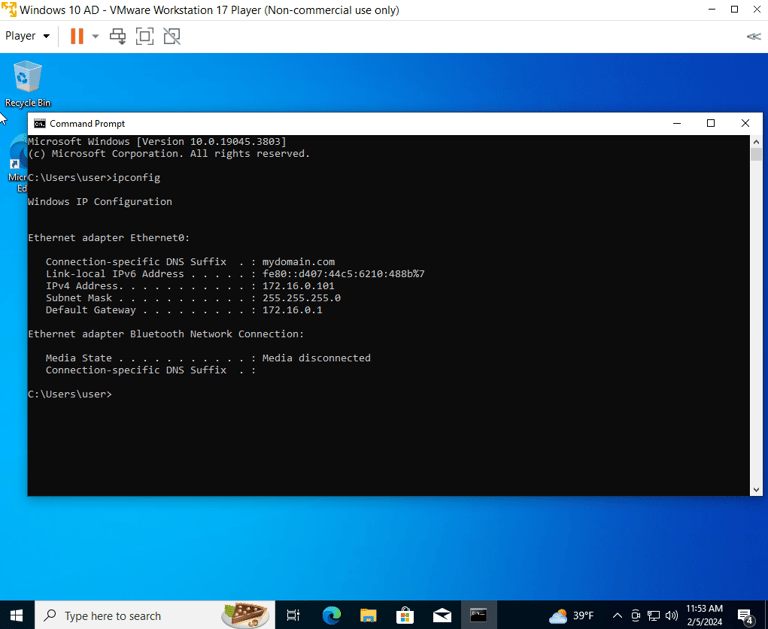
Using the "ifconfig" command to verify new client PC has received an IP Address from DHCP Server (DC):
172.16.0.101 (First assigned IP)
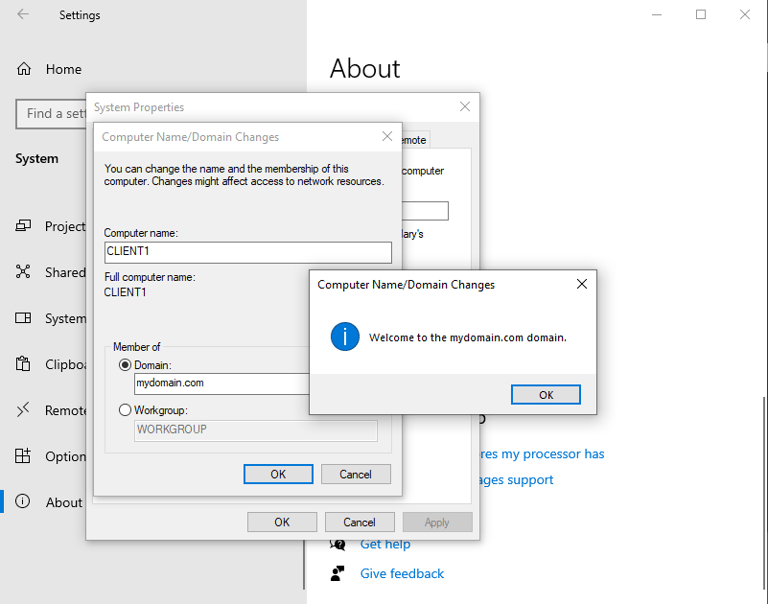
Connecting Client to Private Domain "mydomain.com"
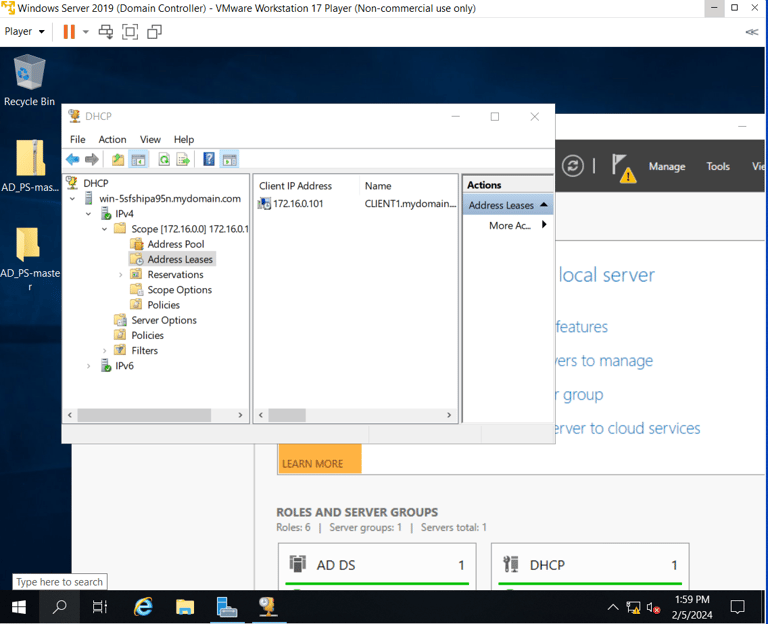
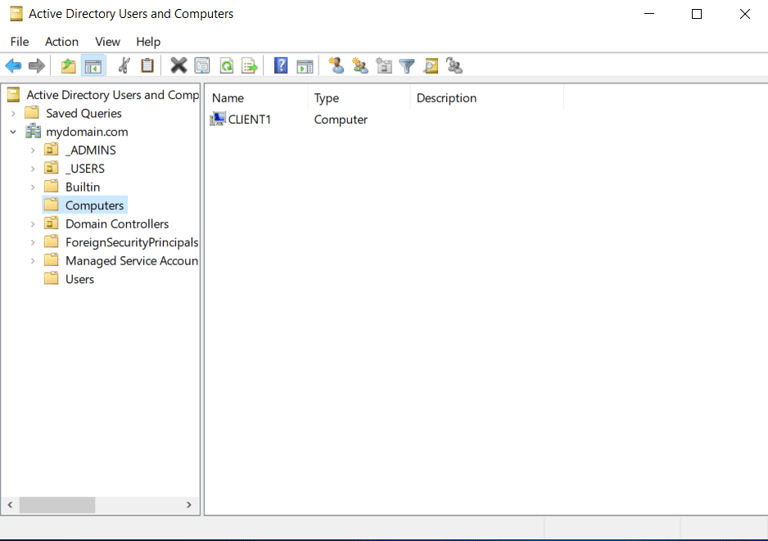
Back on the Domain Controller VM, validating the client PC's IP and device is listed!