OPNsense Firewall, Suricata IDS, & Squid Web Proxy within a Virtual Network
Alex Nelsen
2/23/2024
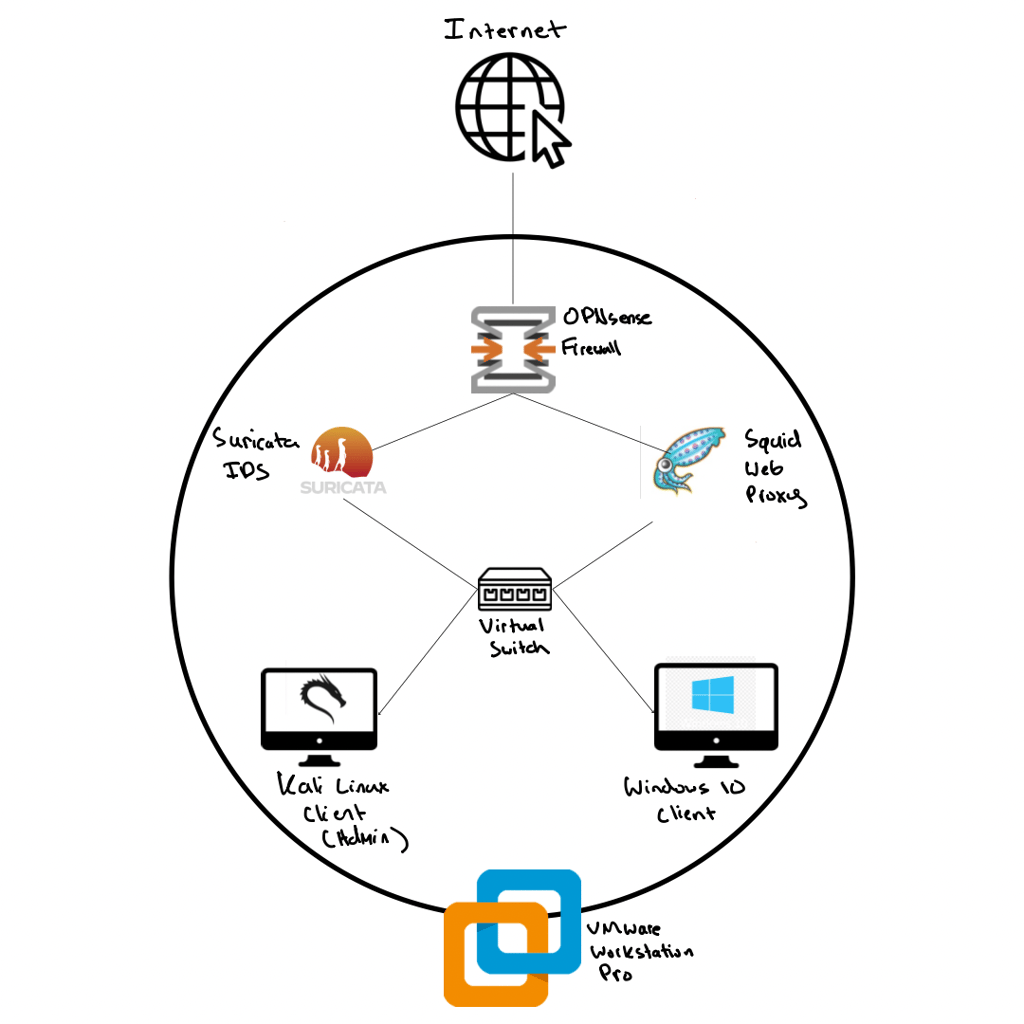

The Lab Topology:
In this blog post I will be creating a virtual network simulating real world enterprise security needs. I will be using many tools; OPNSense, Virtual Switches, Suricata, and Squid to achieve the end goal of network engineering and management.
Section 1:
Downloading the OPNsense and creating the firewall in VMware.
The .iso file is readily & directly available via OPNsense but is compressed within a .bzip file.
In order to unzip said file on Windows, the Windows version of the Linux native Bzip2 tool needed to be installed.
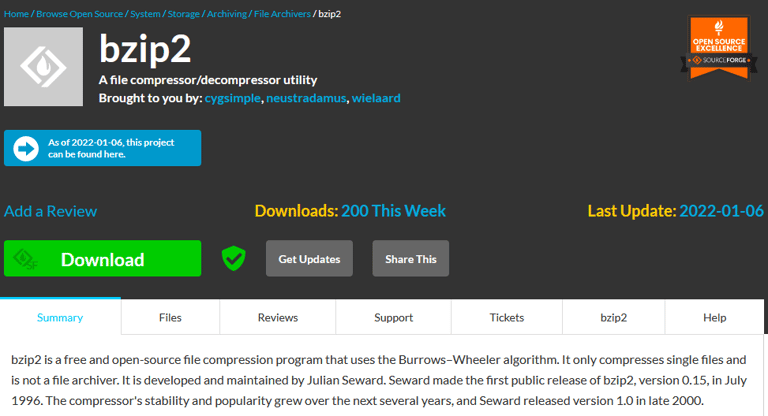

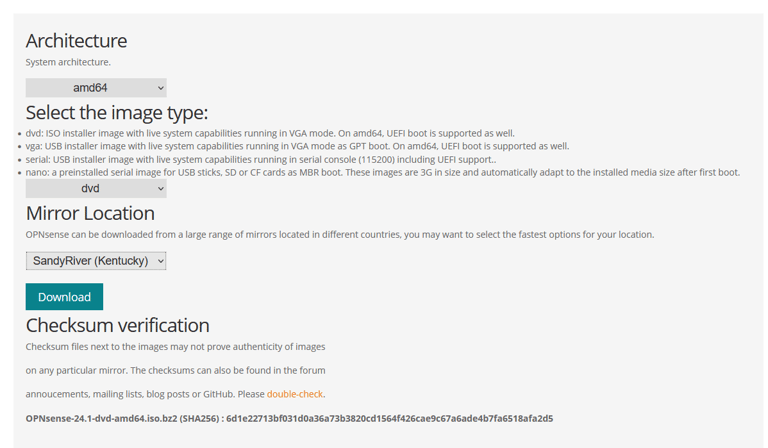


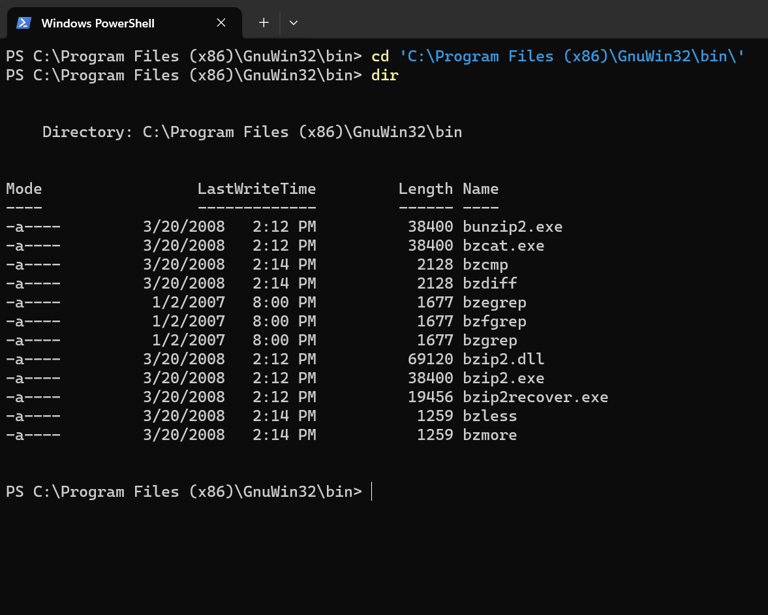

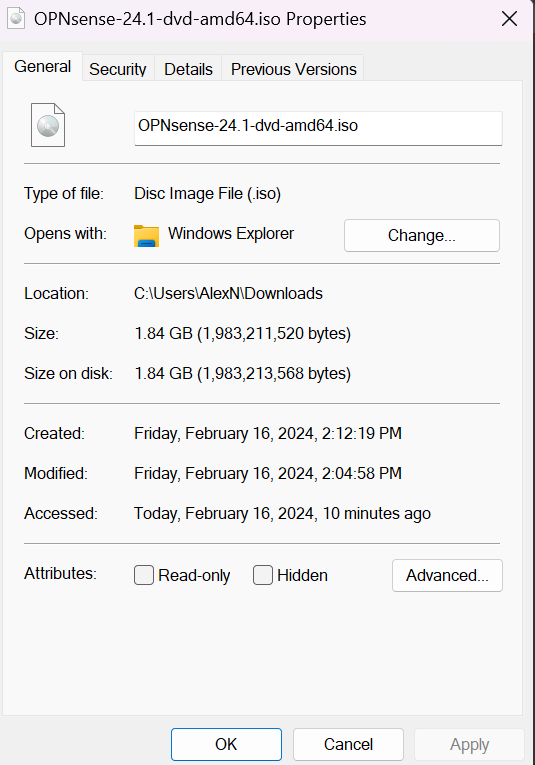

Using PowerShell and bzip to decompress file:
Section 2:
Creating private LAN segment, initializing OPNsense, assigning static IPv4, assigning firewall interfaces on the command line:
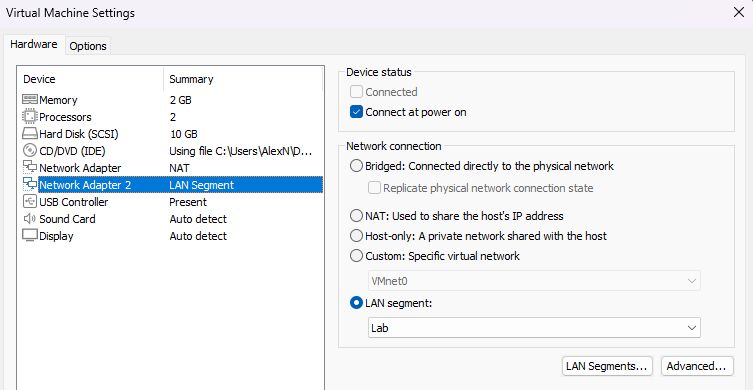
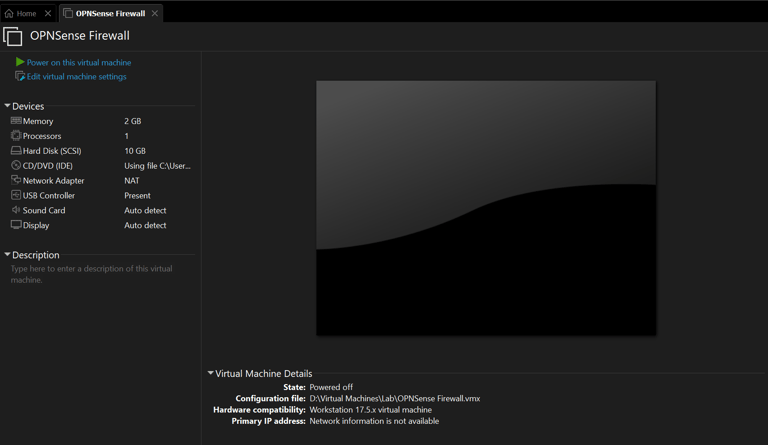
The initial configuration of the newly installed OPNsense firewall. Adding another network adapter to use for my private LAN segment for 'client' devices.
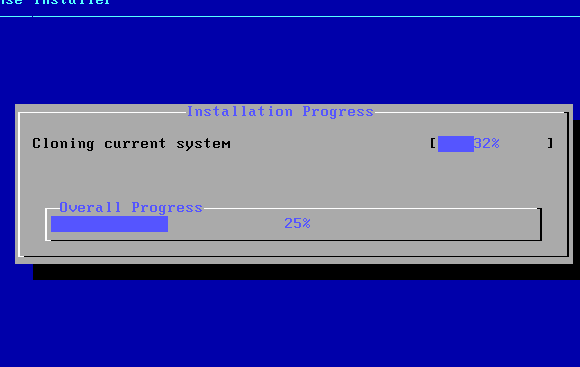

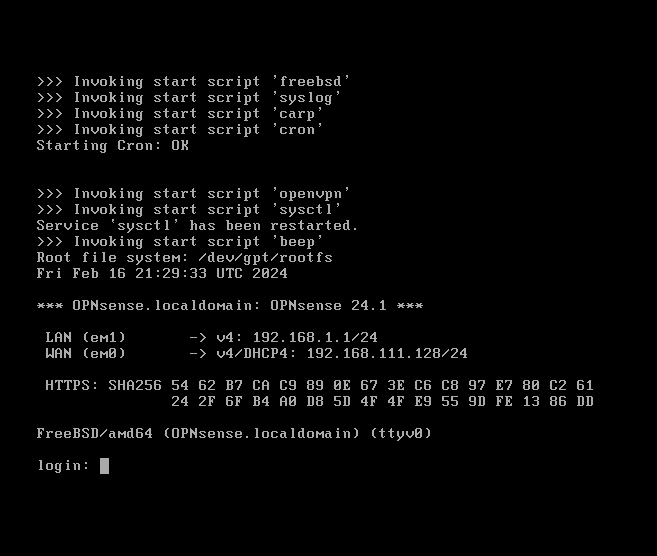


The default configuration of OPNsense after assigning adapter em1 = LAN, em0 = WAN (NAT)
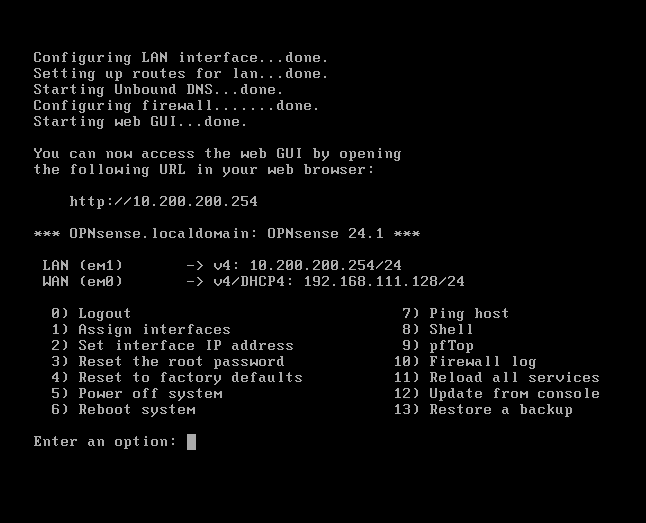
My custom configuration:
My custom configuration:
Disabled IPv6 for this lab, assigned a static IP of 10.200.200.254/24 to the LAN interface, reset root password and changed WebGUI access from HTTPS to HTTP just for labbing purposes.
Default assigned IP is 192.168.1.1/24


Section 3:
Setting up the network admin machine (Kali device) to connect to private LAN, and accessing the OPNsense web GUI
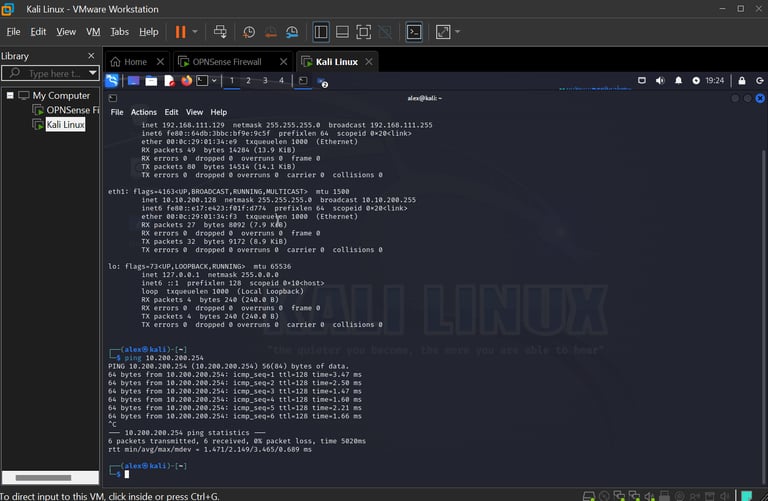



Kali Machine has been statically assigned an IPv4 Address of 10.200.200.128 on the same LAN segment.
Connectivity is up, showed by pinging the firewall from the Kali machine.
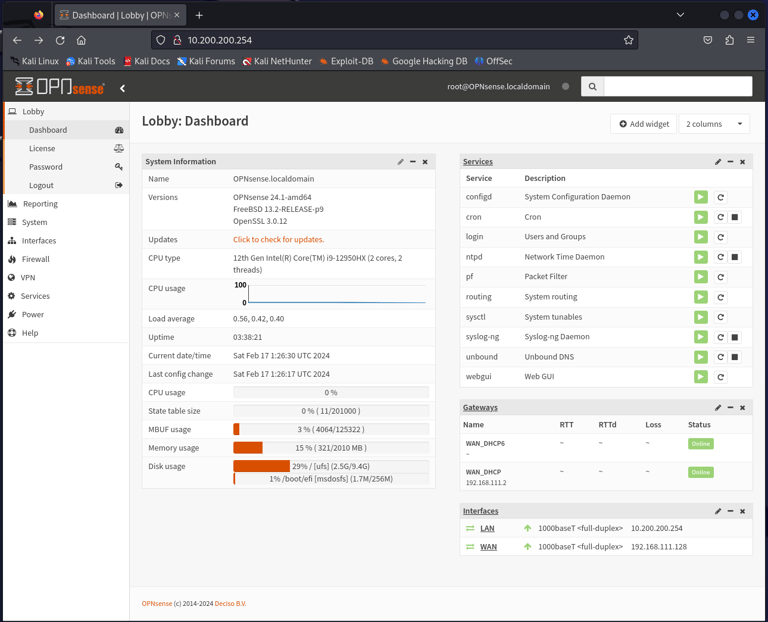
OPNsense's WebGUI, accessed from the Kali machine at http://10.200.200.254:80
Section 4:
Enabling Suricata (IDS/IPS), Enabling SSH Connections
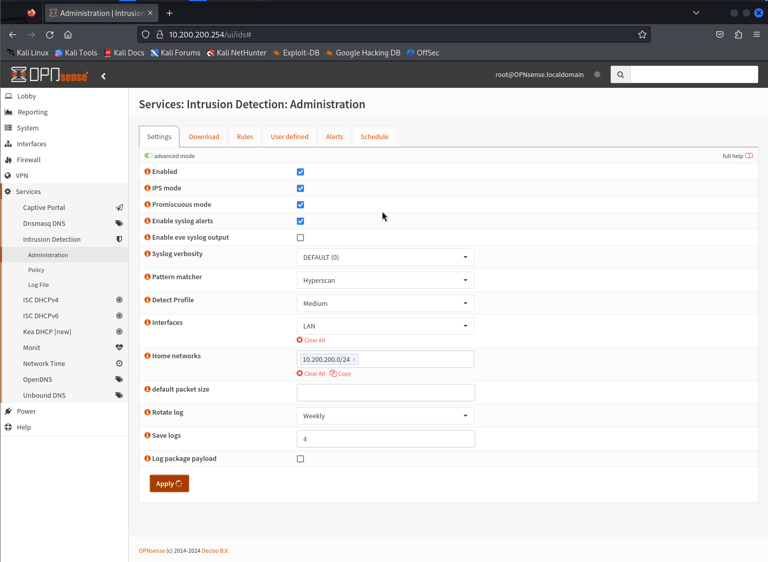

Configuring Suricata to run service on LAN interface within the private LAN Segment (10.200.200.0/24)
Disabling Hardware TSO & LRO to improve performance
Also enabling SSH connections to be allowed to the firewall (not pictured)
Section 4.5
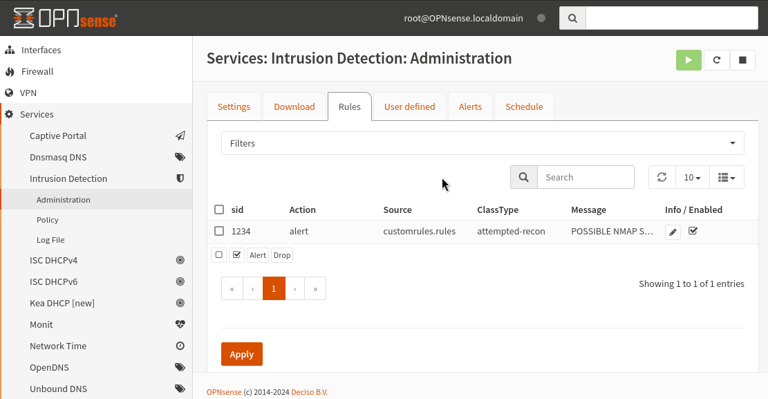
Creating a custom Suricata Alert, using Filezilla to send rules via SSH, utilizing Python to create a simple HTTP Web Server for OPNsense to download rules.
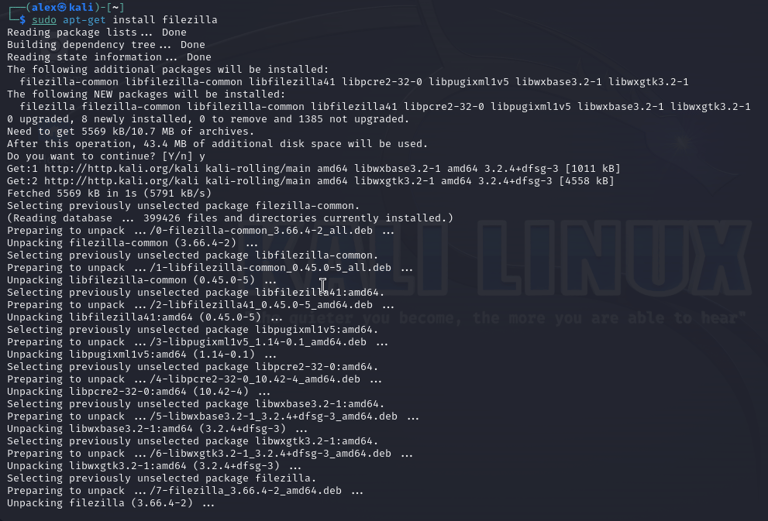

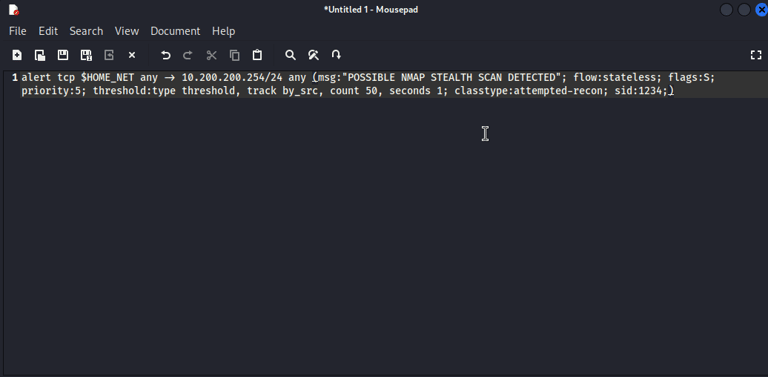



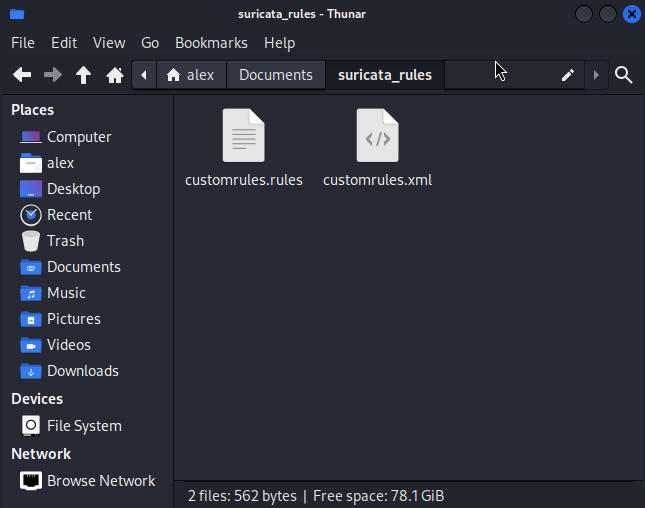


Creating a Custom Suricata IDS Alert rule as follows:
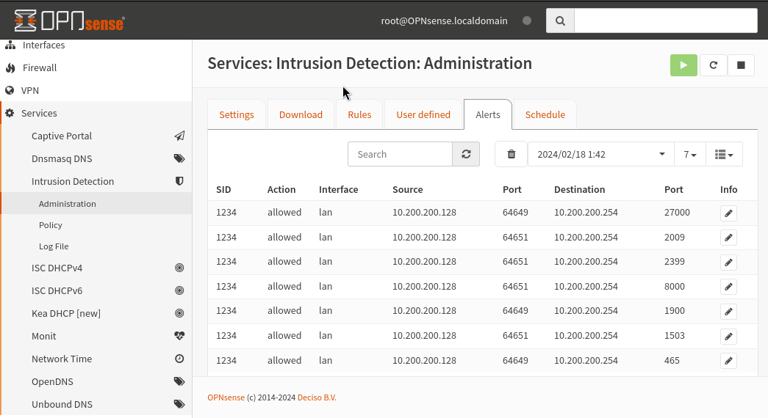
Suricata will alert to any TCP traffic from our LAN segment inbound to the firewall on any port with the message "POSSIBLE NMAP STEALTH SCAN DETECTED."
flow:stateless (no classified state)
flags=S (SYN packet)
count 50 seconds 1 (50 SYN packets sent in 1 second will trigger the alert)
sid (signature ID)
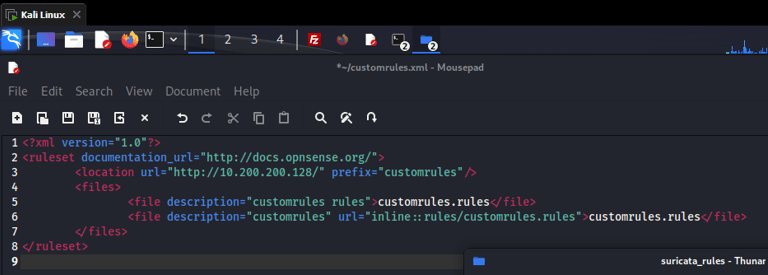
Creating a custom XML file to tell OPNsense where to download the above rule from:
(http://10.200.200.128/") = the Kali Machine
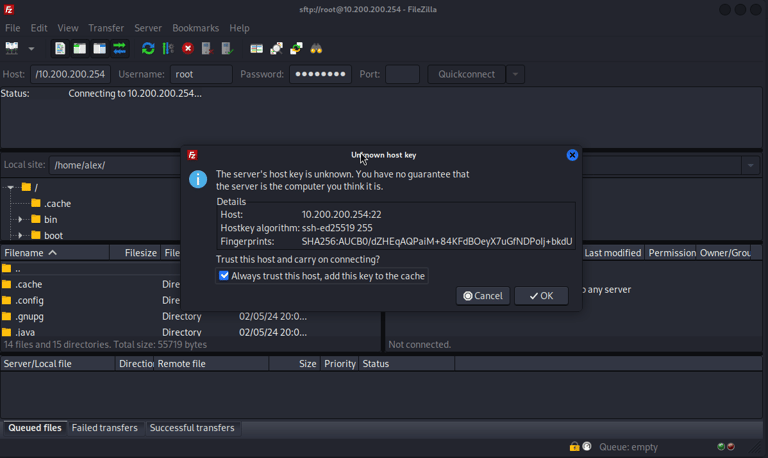
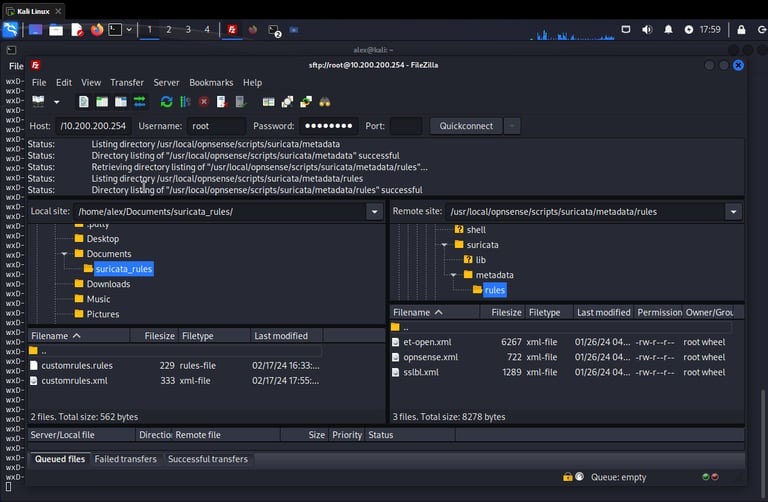
Installing Filezilla on the Kali machine, connecting to the firewall using SSH, transferring new rule files to OPNsense
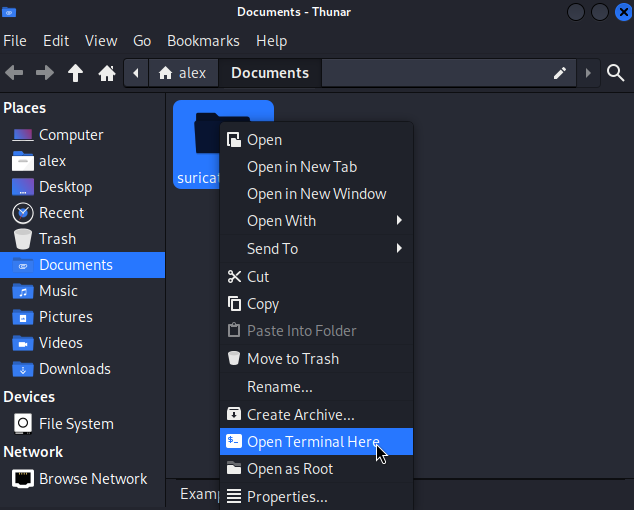




Starting a simple HTTP web server using Python on the Kali Machine.
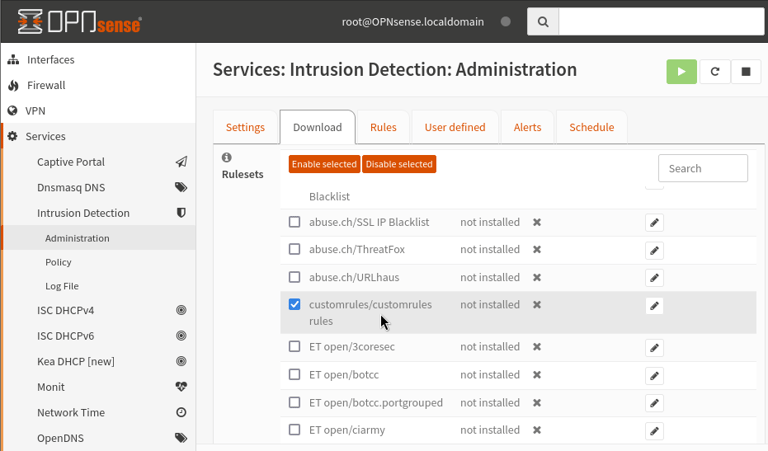
Downloading newly created custom ruleset:
Section 5:
Testing Suricata with new rules using nmap:

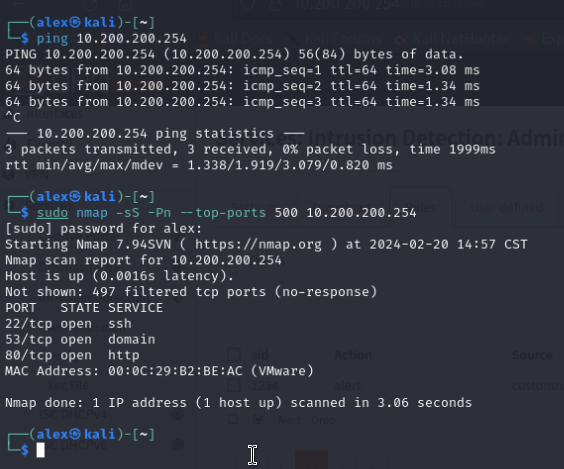

Using nmap to conduct stealth scan of the firewall:
sudo nmap -sS -Pn --top-ports 500
-sS = Stealth scan
-pN = ignore if host port is down and continue with scan
--top-ports 500 = 500 of the most common ports
Alerts shown after nmap scan:
Section 6:
Connecting Windows 10 Client to LAN segment, downloading & enabling Squid Web Proxy, creating an Internal CA, installing CA on Windows 10 Machine.
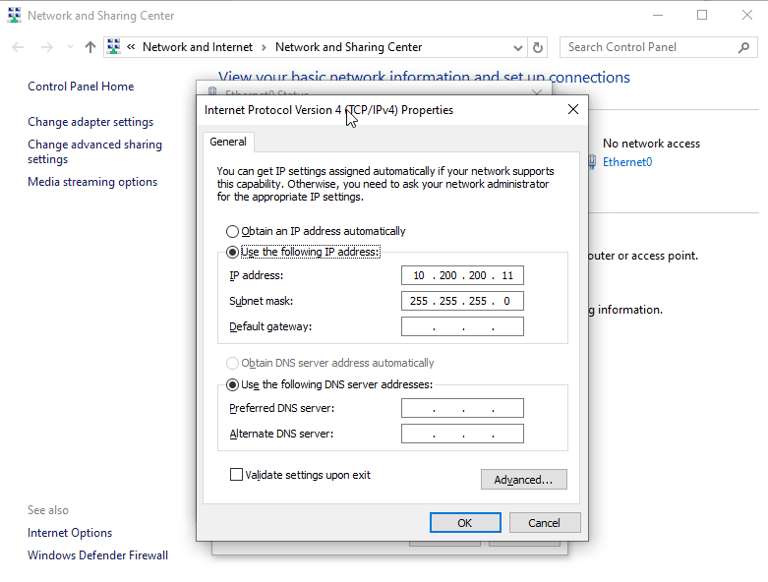




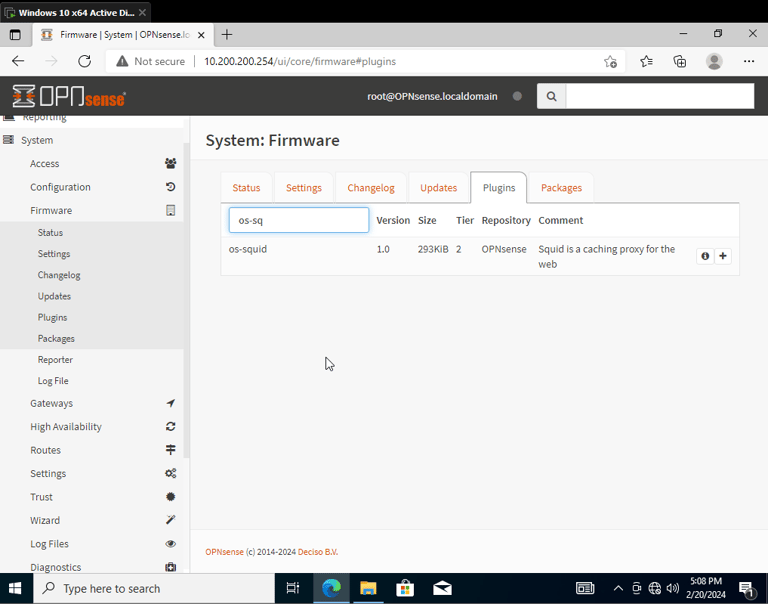

Setting single NIC on Windows 10 machine to private LAN segment, then statically assigning an IPv4 address of 10.200.200.11 on VM. Also changing Kali IP to 10.200.200.10 to be less confusing.
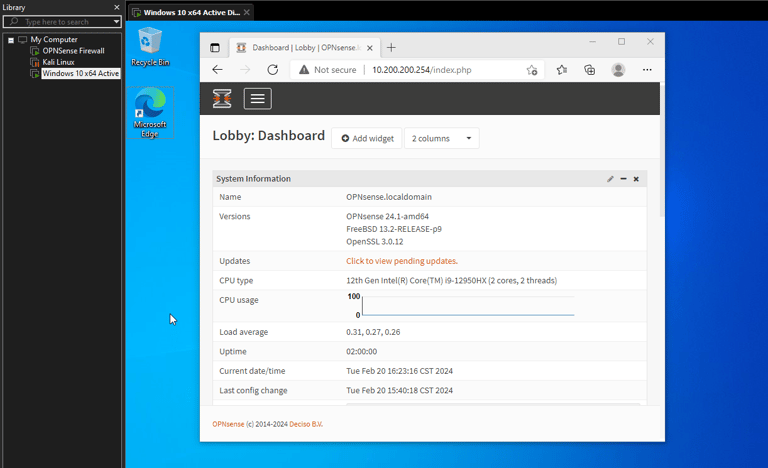
Accessing WebGUI from Windows Machine:
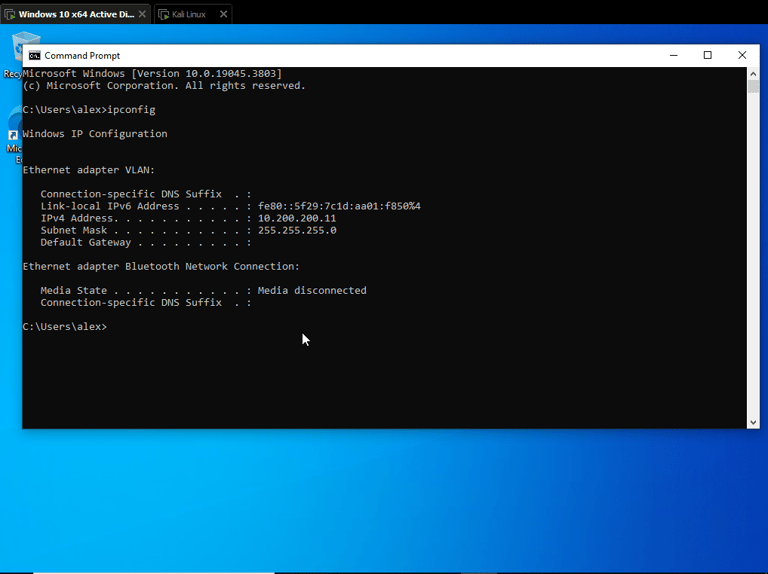
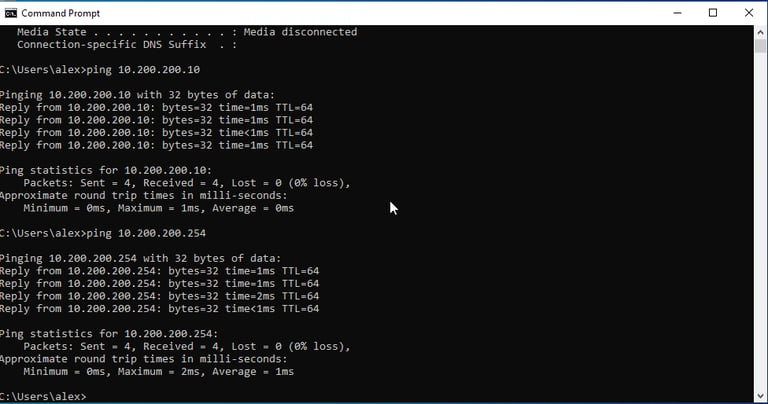
Ensuring IP assignment and LAN connectivity with other devices. (Firewall and Kali Machine)
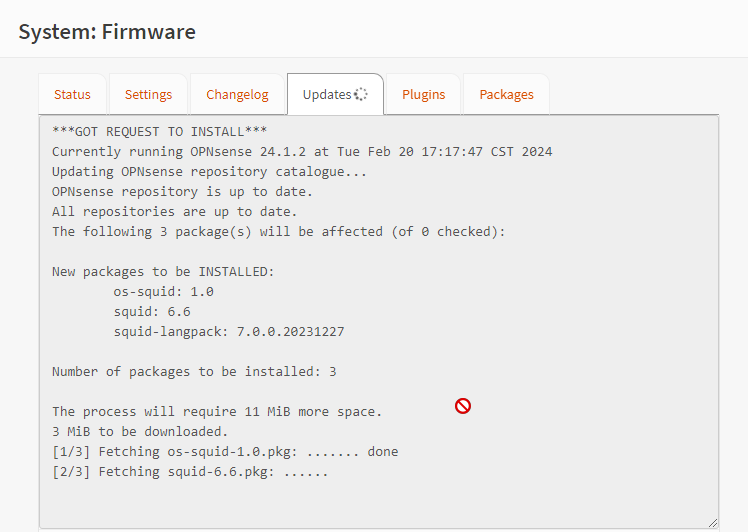

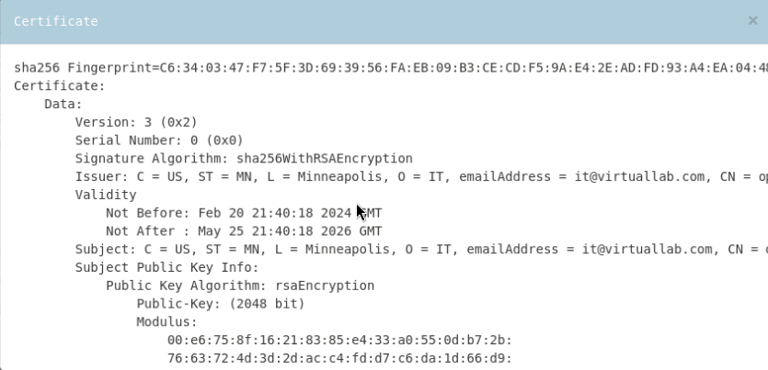





Installing Squid:
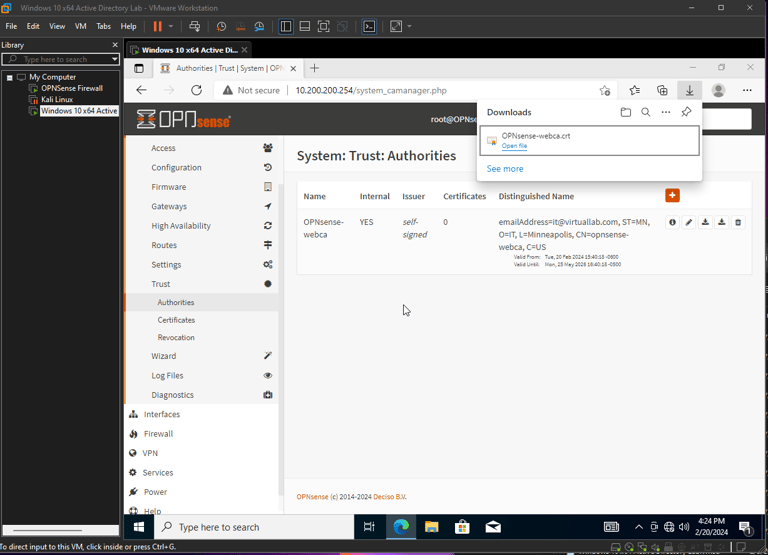
Creating an Internal Self-Signed Certificate Authority:
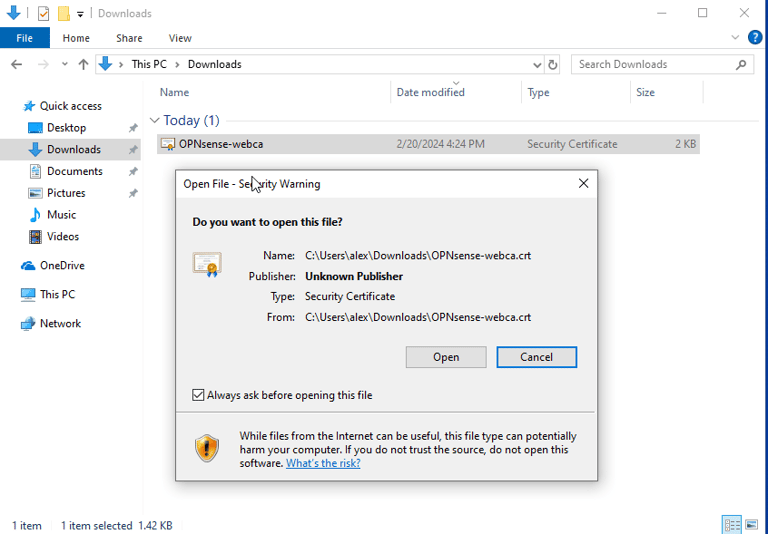
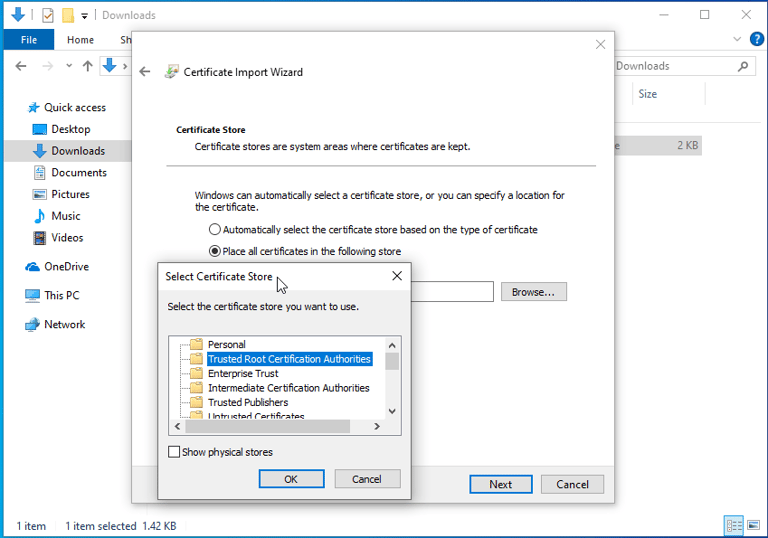
Downloading the Certificate & Importing it into the Trusted Root CA File on the Windows Client

Section 7:
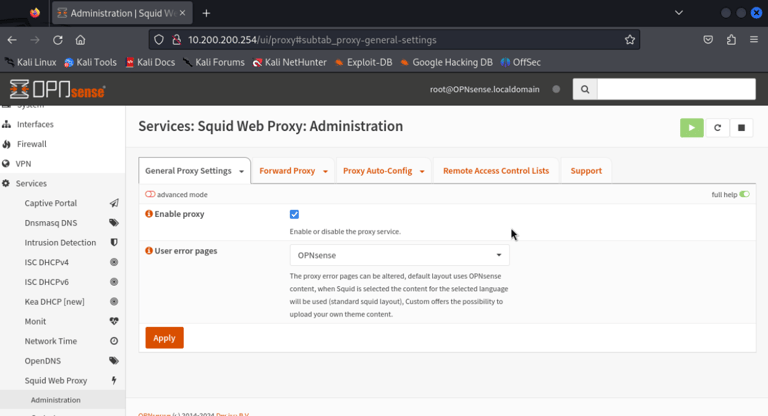
Enabling Squid, creating firewall rules, blacklisting websites using external rules and disabling bypass methods
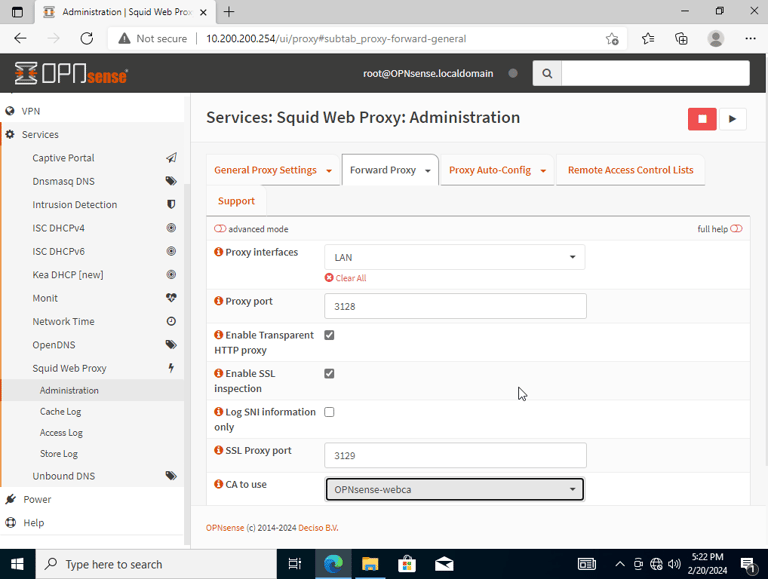




Enabling transparency mode on the proxy.
Setting Proxy interface to LAN (Devices on the LAN will use proxy)
Enabling SSL inspection
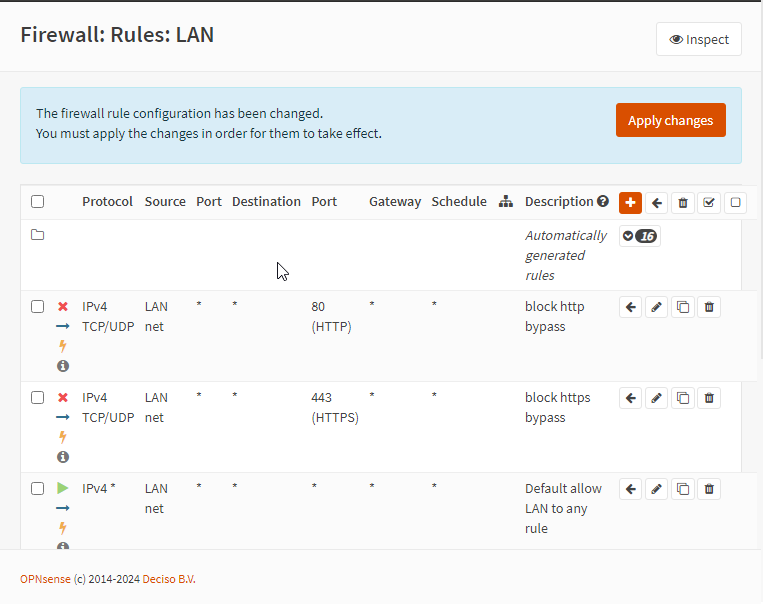
Creating the 2 firewall rules to block both HTTP/HTTPS bypasses
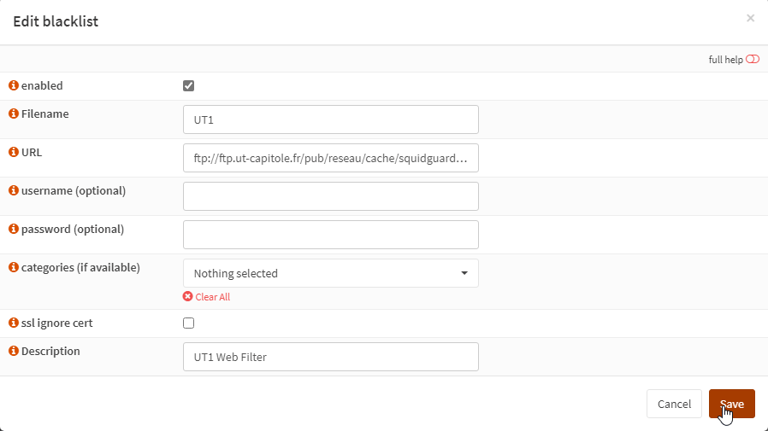
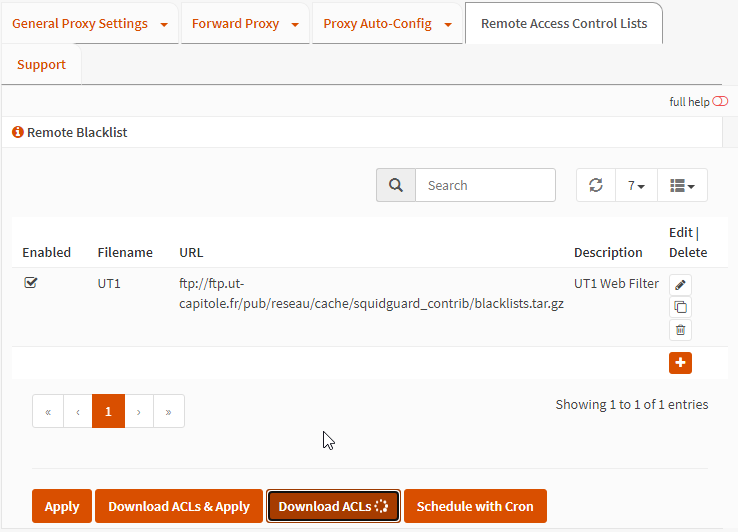
Downloading external blacklists to enable within Squid:
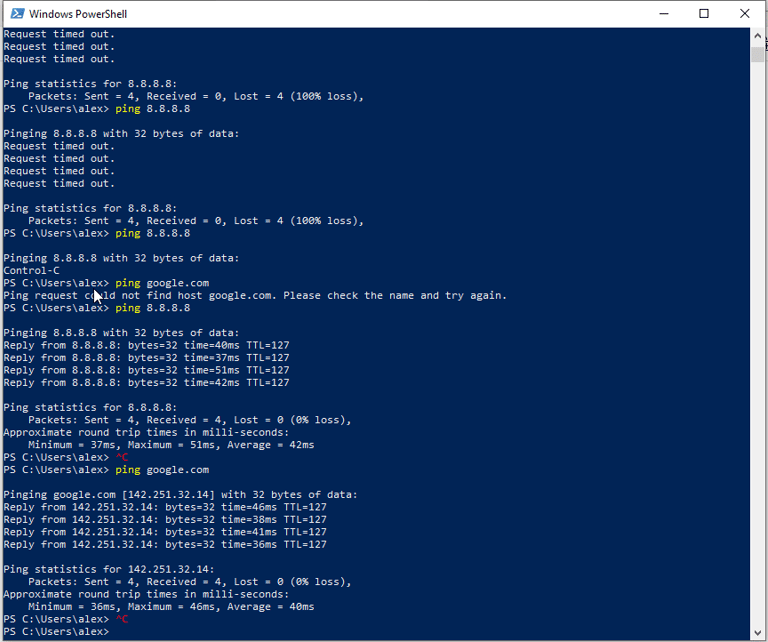


Troubleshooting connectivity issues, changing DNS server, looking through NAT & port forwarding rules until internet could be reached from Windows 10 Machine:
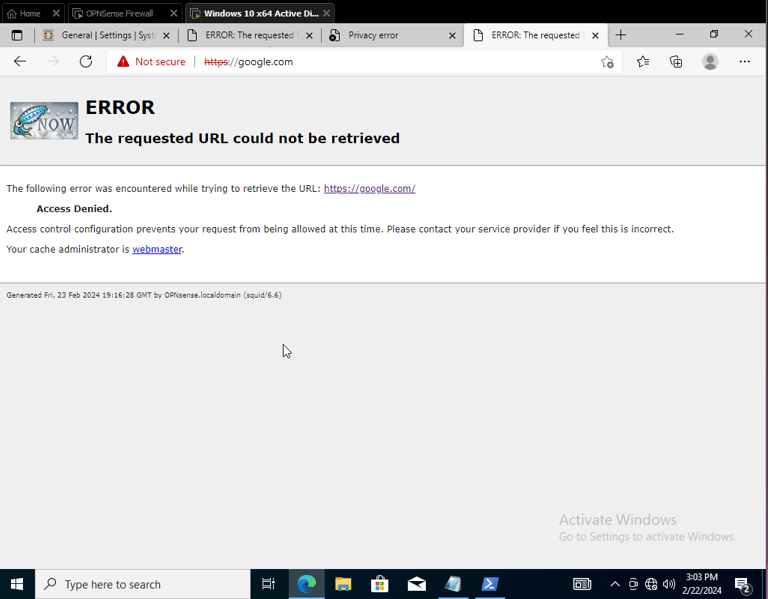
After connectivity issues resolved, finally re-enabling blacklist and testing Web Proxy successfully: